With the pen you draw lines, polygons and curves right on the canvas. Then you can correct the points, turn other objects into paths, combine them, break them apart or draw an outline around them. These all change the shape: before a real job, look at the preview and use Show Frame.
1Draw with the pen
- In the toolbar on the canvas, choose the pen.
- Click to place a corner point. For a curve, click and drag: handles appear that set its direction.
- Keep placing points. Click the first point to close the shape; to leave it open, double-click or press ↩. Esc cancels the path you are drawing.
While placing a point, hold the space bar to move it. ⌥ bends the curve on one side only. ⌘ picks up a point or handle you already placed. If you close by dragging on the first point, the last stretch becomes a curve too.
A closed shape can be filled; an open one is a line. The object’s operation decides whether it is engraved, scored or cut.

2Correct the points
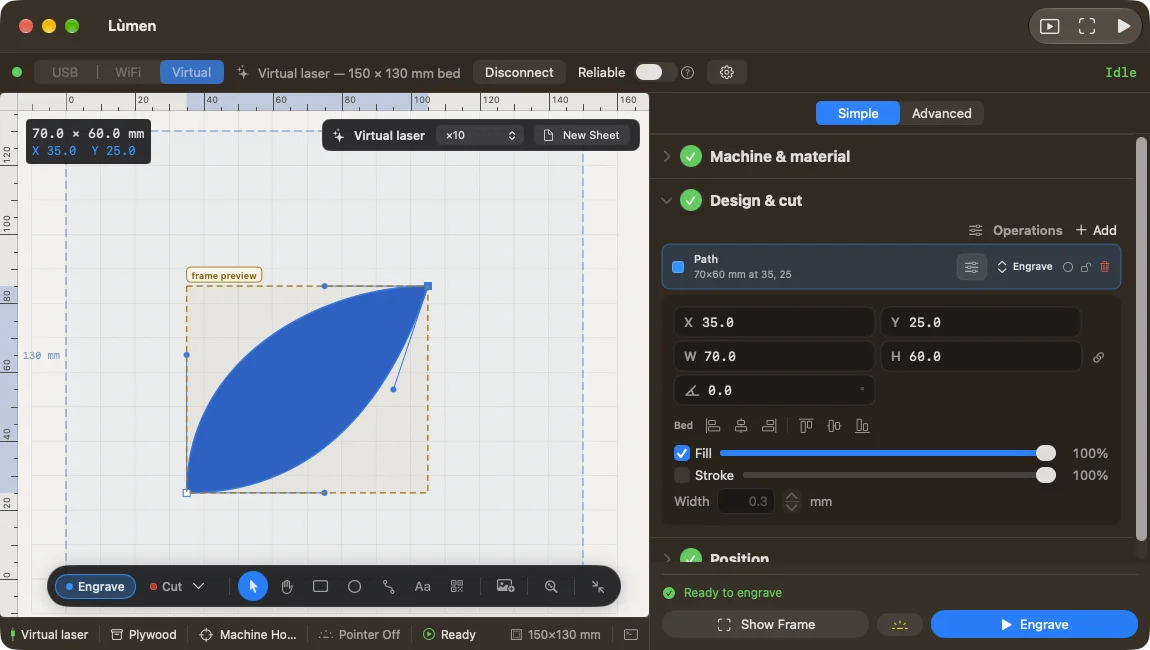
Double-click a path or a polygon, or choose Edit Points from the menu you get with a right-click. Then:
- drag a point or one of its handles to change the shape;
- click a segment to add a point (the shape doesn’t change);
- ⌥-click a point to switch it between corner and curve;
- select a point and press ⌫ to remove it; the arrow keys move it.
Esc, ↩ or a click elsewhere end the editing. Each gesture undoes on its own with ⌘Z.
Convert to Path and Break Apart
Select a shape, a line, a text or an imported drawing and choose Edit ▸ Convert to Path. The object becomes a path you can correct point by point, in the same place. A text becomes the outlines of its letters: you can no longer change its words, so keep a copy if you need it. Images, codes and the bed grid don’t convert.
Edit ▸ Break Apart (⇧⌘B) splits a path into one object for each piece of material. Holes stay with their outline: an “o” stays an “o”. Then you can move, delete or give another operation to just the parts you need.
Combine Shapes
Select two or more closed shapes and open Edit ▸ Combine Shapes:
- Union: one outline with the area of them all;
- Subtract: takes the shapes on top away from the one underneath;
- Intersect: keeps only the area they share;
- Exclude: removes the area they share and keeps the rest.
The result takes the place, operation and style of the shape underneath. To make the hole in a tag, for example, draw the tag and the hole’s circle on top, select both and choose Subtract.

Offset Path
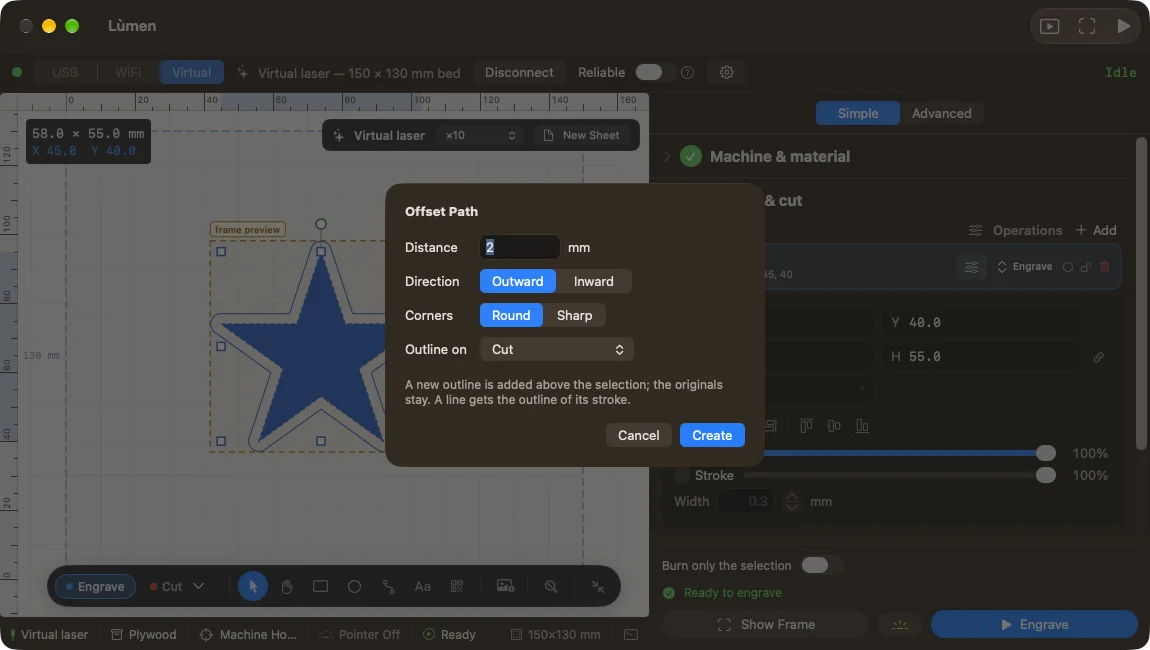
Select one or more objects and choose Edit ▸ Offset Path…. In the window choose the Distance, the Direction (Outward or Inward), the Corners (Round or Sharp) and where the new outline goes (Outline on). With several objects, One outline round them all surrounds them together, like a sticker’s contour round a logo and its text. Press Create: the originals stay.
Around an engraved object the outline goes to the cut by default, since it is usually the line to cut it out along; around an object that is already cut or scored, it stays in that operation. You can choose another one, including Engrave, as a line.
Before you cut. After changing a shape, check the object’s operation in the panel, its place on the canvas and the preview. If the outline is to be cut, look at the cut operation’s Kerf and Tabs too, explained in Engrave, score and cut.