This walk-through uses the virtual laser, so you can follow every step without an engraver connected. Once it works on screen, repeat the position and settings checks on the real machine.
1Open a project
Choose File ▸ Free Projects… (⇧⌘N), search for coaster and open the Leaf Wreath Coaster with Open in Lùmen, or start an empty one with File ▸ New Project (⌘N) and draw a rectangle from the toolbar on the canvas. The coaster shows engraving and cutting together; a simple shape is quicker to simulate.
If the project has several pieces, pick the one to work on from the selector above the list of objects.
2Choose the laser, the machine and the material
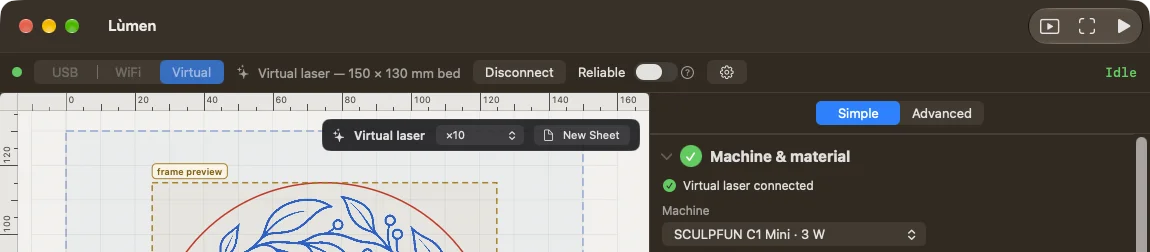
In the bar at the top, choose Virtual and press Connect. In the Machine & material tab, choose your machine, since the virtual laser works on its bed, and then the material.
Lùmen fits the engrave, score and cut values to the power of the machine you chose. They are starting values: on the real material, check them with a test grid.
3Check the objects
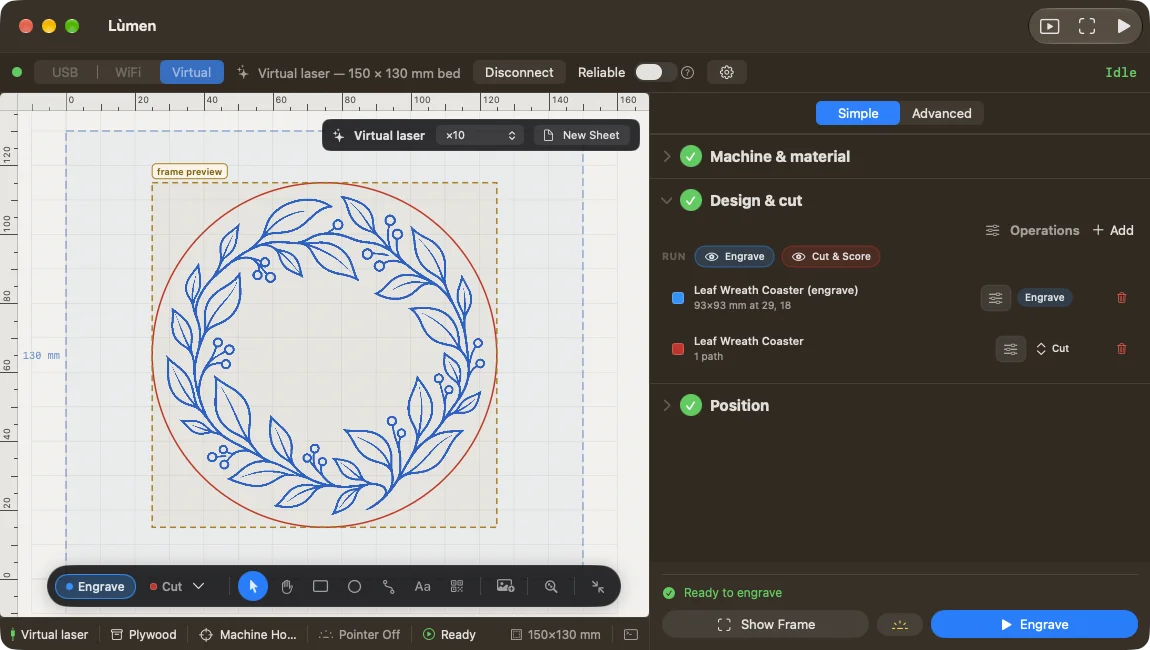
Open Design & cut. Each row is an object: check its size and the operation on its label. A part to fill has Engrave; an outline to score or cut has a score or cut operation, such as Cut.
If the project has both passes, the buttons next to RUN choose which ones the next start runs. How to change speed, power and passes is in Engrave, score and cut.
4Place the job and look at the path
Open Position and check the origin, the point of the machine the job starts from, and that the design sits inside the bed.
Choose View ▸ Preview Job… (⇧⌘P) to see the path, the moves with the laser off and the estimated time. Then press Show Frame: the head traces the outline of the job. On the virtual laser you watch it on the canvas; on a real machine it tells you whether the piece is in the right place.
5Start it and watch
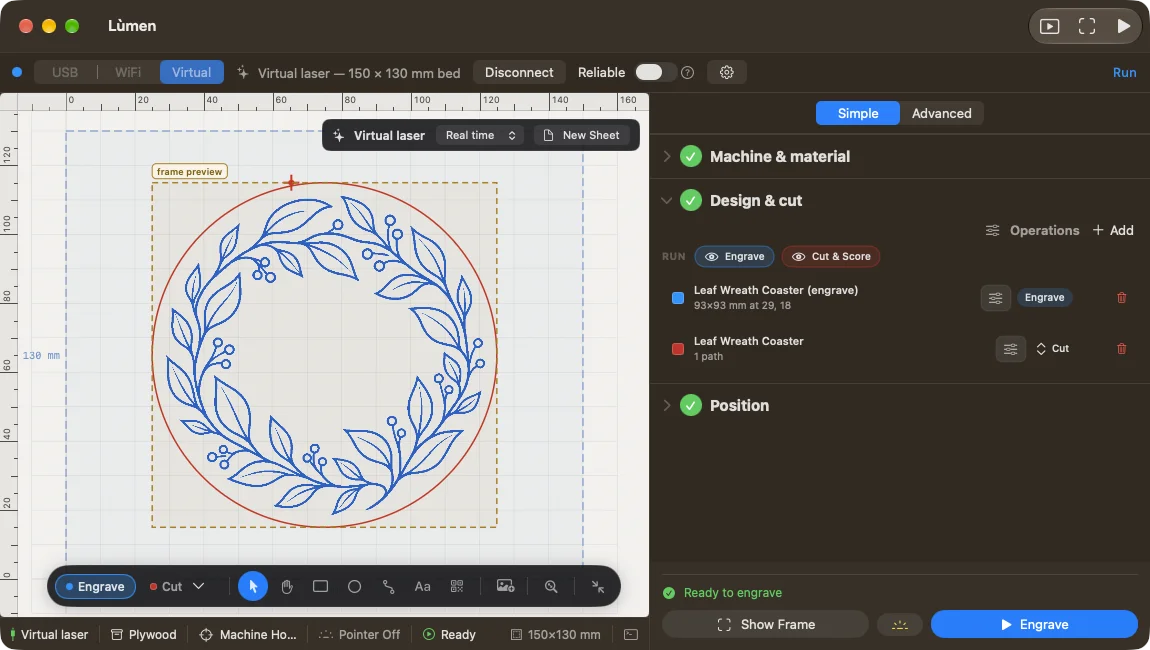
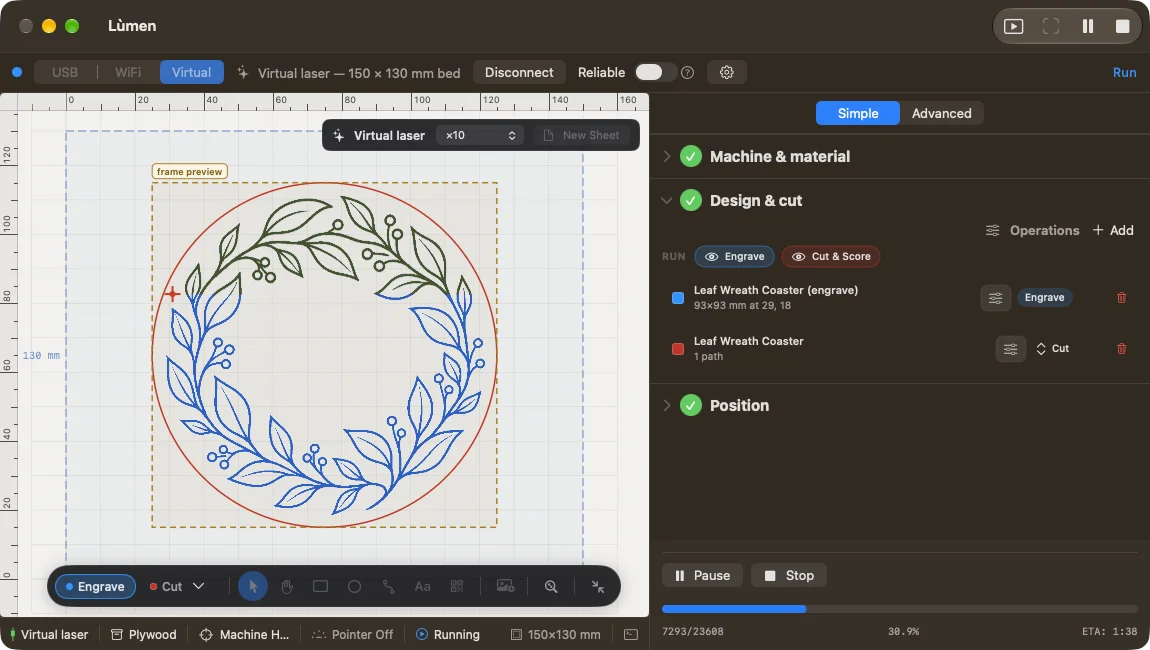
Press Engrave. For five seconds you can still stop with Cancel; then the panel shows the progress, the lines done and the time left.
On the virtual laser you can speed up the simulation from the menu next to Virtual laser, up to ×50. Try Pause, Resume and Stop: better to know them before you need them on a real job.
6Save the project
File ▸ Save Project… (⌘S) writes a .gcode file that Lùmen opens again with everything it needs to edit it. If all you need is the code for the controller to run, use File ▸ Export G-code (offline)… (⇧⌘E). The difference is explained in Projects and files.
On the real laser. Connect the machine, check the machine, material and origin again, then repeat the preview and Show Frame with the piece in place. The virtual laser shows the path; the real mark depends on the laser and the material.